
Monday, February 28, 2011
Paint With All The Colors!
For this assignment in Drawing Studio, I had to choose a 10x10 piece of fabric that had blocks of solid color in it. I had to trace this fabric onto graphite paper to get the exact replica of the design. Once that was done, I had to divide the design into 5 sections (from left to right); desaturated, original fabric strip, opposite value, actual fabric colors, and compliment. I started with the actual fabric painting to get a feel for the original colors in the fabric. I tried my best to get the original colors but it was a challenge since the paint drys darker then what I originally made. Since the acrylic drys extremely fast, I did the compliment section next. The fabric I chose made this section simple because the fabric is filled with complimentary colors. After that, I worked on opposite value. While working on this section I became extremely confused. All the colors were hard to distinguish between. Then to make it even more confusing, I had to make every color desaturated in the next section. You can make a color desaturated by adding its compliment color and then white. This became really challenging because most of the colors in this section are so alike. De-saturating yellow was impossible for me! But once I got to class, My teacher explained to me that yellow and purple are the hardest to de-saturate because they have such a high contrast of one another. After that section, I then had to cut out the original piece of fabric and glue it down. Altogether this was a relaxing painting to work on because it required all my focusing on one color at a time. Painting isn't so scary after all.


Thursday, February 24, 2011
Troll!
For the past 3 1/2 weeks in Space Studio, my five group members and I had to build a childhood toy. We chose a the toy troll we all used to play with when we were kids. We all had a story of what we used to do with them. I remember hiding underneath the piano with a hot pink haired troll and some scissors, ready to cut the hair off. Another girl in my group actually took the head off the troll and put it on a duck stuffed animal. I told her she was like Sid in Toy Story. To start with the project we had to make measurements to figure out the scale we wanted for the troll. It had to be mainly constructed out of cardboard and about 12 feet tall. My group and I started right away on the skeleton of the troll. It took a lot of experimenting to get the roundness of the butt and stomach. Once we got the form done, we layered the whole body in paper mache. For the hair we had a one long rod in the middle with cardboard and bristol board surrounding it. Then we painted! Got it finished in a week in a half! ....or soo we thought......
 We were told to add more to the hair! The hair had to be more wavy and look like it had individual strands and values. Then we had to add a shiny jewel and eyes. Two weeks later we finished!


 We are trying to figure out where we will put it because we can't leave it DAAP forever.. Any Ideas?!
 We were told to add more to the hair! The hair had to be more wavy and look like it had individual strands and values. Then we had to add a shiny jewel and eyes. Two weeks later we finished!

 We are trying to figure out where we will put it because we can't leave it DAAP forever.. Any Ideas?!
Thursday, February 17, 2011
Time to Paint!
In drawing class, we began to work with acrylic Liquitex paint. We had to choose a Japanese print and try to create the exact colors in the picture. I chose the work by Harunobu, Girl on Night Pilgramage from the book Master of the Japanese Print.
 This acrylic paint drys extremely fast so you have to work quickly. I know I didn't reach the exact color but I am still experimenting! Once we made the closest color to the original, we had to make a scale with the same proportions that the print has. Then make a proportional abstract painting.
 Mixing the colors was very relaxing! I am excited to paint again in drawing class!
 This acrylic paint drys extremely fast so you have to work quickly. I know I didn't reach the exact color but I am still experimenting! Once we made the closest color to the original, we had to make a scale with the same proportions that the print has. Then make a proportional abstract painting.
 Mixing the colors was very relaxing! I am excited to paint again in drawing class!
Monday, February 14, 2011
Let's Finish Up With Nupastels!
This is the last drawing we did before we had a critique over the past Nupastel still lifes we had done. I had to buy five different colors of paper, make a collage out of them, and then draw it. This final assignment helps show the teacher how much I have learned in creating value with the Nupastels. Here ya go...


Saturday, February 12, 2011
Practicing Fabric and Glass
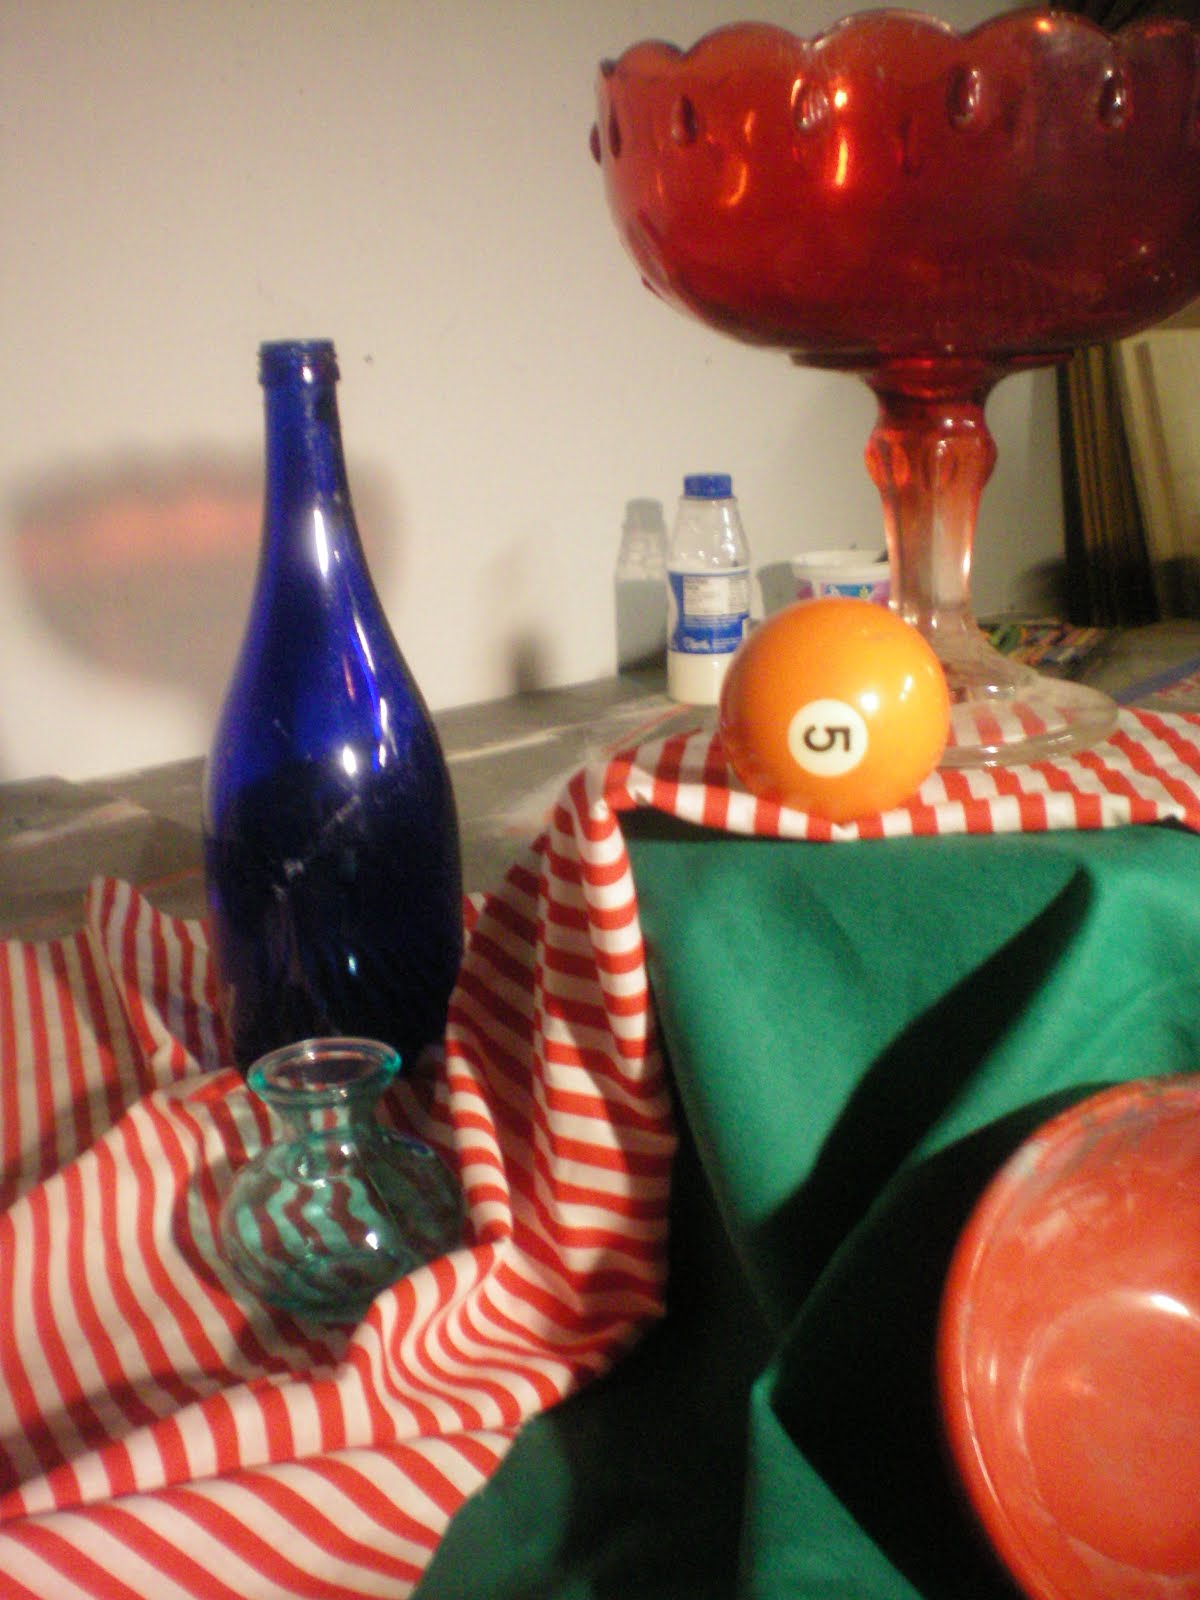
Here is my Sketchbook assignment from last week. We are starting to learn how to draw glass, objects inside glass, and their reflections.


I am continuing to work with fabric and colored glass objects in my drawing class. I realized I am better drawing fabric with patterns or textures in them. It is easier to get all the distinct values when you have patterns to follow. I can't just ignore the regular fabric so I'm going to continue to practice. In the specific piece there were reflections from the fabric onto the glass. That was also easier to work with then just putting in blurred reflections in the glass.


I am continuing to work with fabric and colored glass objects in my drawing class. I realized I am better drawing fabric with patterns or textures in them. It is easier to get all the distinct values when you have patterns to follow. I can't just ignore the regular fabric so I'm going to continue to practice. In the specific piece there were reflections from the fabric onto the glass. That was also easier to work with then just putting in blurred reflections in the glass.

Saturday, February 5, 2011
No Blending!
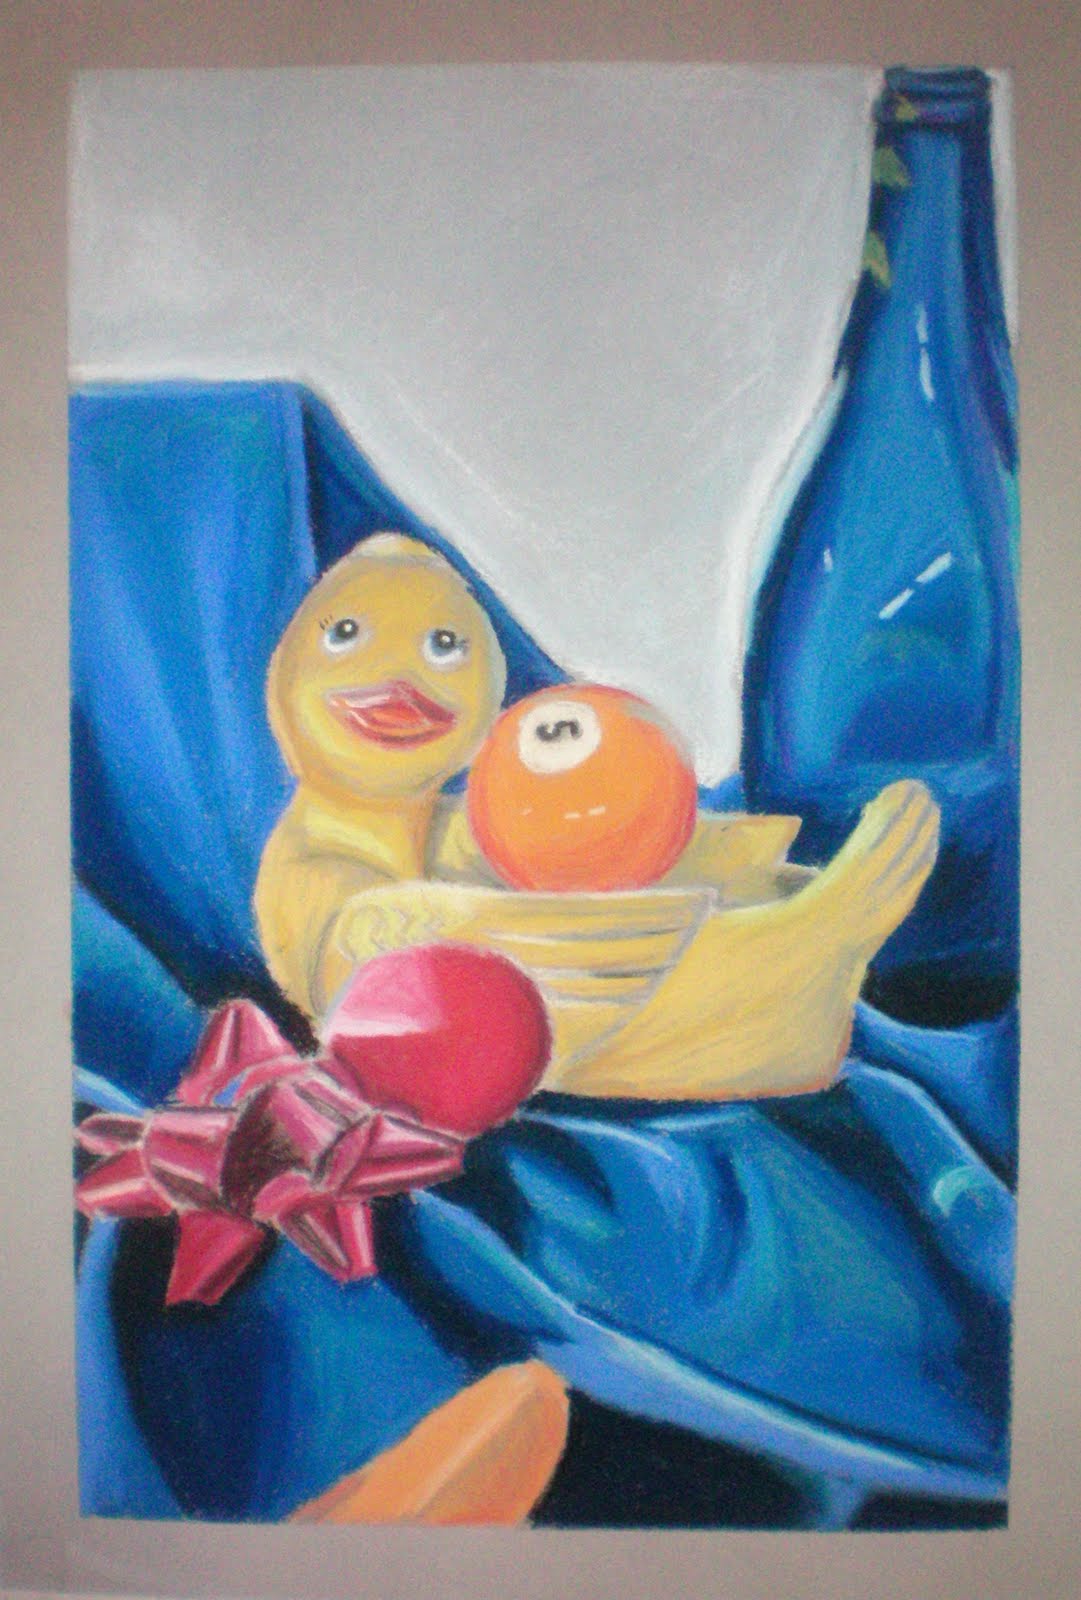
I am trying to turn away from always blending in colors on my still lifes. I was only allowed two minutes of blending time. For the rest of the piece, I had to find every individual color to make it look like I did blend the picture. I am trying to conquer the different textures by not blending all the time. Maybe the fabric needs to be blended in but the rubber duck might not need blending. All it takes is more experimenting with the pastels!


Monday, January 31, 2011
Bang Bang!
Second project for Space studio was to invent a multi-task gadget that could do five different actions.
For thinking of a multi-task product to invent, I automatically think of steam punk. Steam punk products have so many gadgets that do many different things. I started looking at the steam punk gun and how it can shoot different things out of it. That’s when I started to think of a gun that would have Chap Stick at the end of it. I had the idea of sticking things to the gun like Chap Stick, nail file, and a phone. After looking at many handguns, I stumbled upon a tiny magnum gun. Just like the gun ladies would carry in all the action movies. Instead of having the gadgets stick to the gun, they could be in the barrel of the magnum. That is when I started thinking of what else I could add to the barrel. How about pepper spray, tic-tacs, or an energy shot? This gun is what every lady in this world needs. This gun could be called the Rape/Date Gun. If you are going on a date, you can prepare for it by filing your nails, putting on chap stick, taking a tic-tac, or even taking an energy shot. This gun can also protect you if the date goes bad or you run into some trouble on the way home. Just turn the barrel to the pepper spray and then you will be prepared. Another interesting aspect of the gun is that it carries a tiny emergency cell phone in the handle. The size of the gun might scare people away by itself so that will help even more. I didn’t want the gun to be as tiny as the original lady magnum.
The way the gun is used by the woman could be pretty fooling to the eye. Imagine a lady walking across the street and she pulls out what looks like a magnum just to have a tic-tac. Be astonished ladies! This gun will prepare and protect you from anything!
Here are my sketches:
 Here is the model I made and what it became!
 The model gun is made out of cardboard. The final gun is made out of Styrofoam with a layer of water putty on top of it. It is hard as rock! While building this I was listening to a Kill Bill classic song: Bang Bang
Thursday, January 27, 2011
Party!

 Practice makes perfect! We are starting to focus on fabrics and ribbon to understand values in color!
Sunday, January 23, 2011
Sketchbooks for Drawing Studio
We get sketchbooks assignments once every week in Drawing Studio. Here they are...
Monochromatic: Blue
 Replicating a Masterpiece: Van Gogh
 Eating on the job.

Monochromatic: Blue
 Replicating a Masterpiece: Van Gogh
 Eating on the job.
Friday, January 14, 2011
ROY G BIV!
For drawing Studio 2, my teacher set up a still life with two skulls and one mold face, surrounded with fabric. She set up three lights surrounding the still life. A red one on the left. A green one in front. And a blue one on the right. This gave us a range of colors to put into our still life. I chose to steer away from the skulls and just draw the mold face. Here it is...


Wednesday, January 12, 2011
Frozen Disaster!
First project for Space Studio for this quarter.
WHAT: Produce a cardboard object that is solid in form and reacts to a studio stool in an interesting way. HOW: Construct using only cardboard and one type of adhesive. Working with cardboard for this project sounded like a huge challenge. I was scared that the cardboard would be difficult to work with. However from the beginning, I had an idea stick with me. Involving the stool, I wanted to show the stool tipping over with boxes falling off of it. I then realized I was faced with a dilemma because I wanted to capture the frozen motion of the boxes falling off the stool. Creating a miniature model helped demonstrate the exact motion of the falling boxes off the stool. I had to think of the before and after as well as the present. The before would be the stool standing up with boxes piled up on top of it. Then the after would be all the boxes piled up on the floor. I then thought of other things I could explore with the falling boxes. The boxes could either be ripped apart like broken glass or become burnt into a crisp, as they get closer to the ground. Another dilemma I began to be faced with was how I am going to display the boxes in mid air. I decided to run fishing line through each box and glue the line to the box so it won’t move. Then I would use invisible cord to hang the heavy stool from the ceiling. The invisible cord is attached to the ceiling using S-hooks. Altogether, the final display looks like it is a frozen disaster.
This project is displayed in the north entrance of DAAP. It won't be there long so here are some pictures!


Monday, January 10, 2011
Terms
 Today we learned the major color systems that we are going to learn about this year. Monochromatic, Analogous, Complementary, Split Complementary, Triadic. We then demonstrated Monochromatic, Inherent Colors, and Saturation. First we had to do a monochromatic scale on the drawing we did last class. I realized it wasn't monochromatic at all. But hey it still looked good. Below that is the correct monochromatic scale.
Thursday, January 6, 2011
I'm Back!
Hope you all enjoyed your holidays! I had a long break to relax from all the hard work at school. I am now ready to get back to drawing! First day of drawing class we were told to get some new pastels. I didn't know what my teacher meant. Why would I have to buy new pastels for this class? Well she said nupastels. Nupastels are hard pastels. We had to use the color red and draw the still life with its monochromatic colors. To help my teacher put a red light on to the still life. This was just to practice using the nupastels and to slowly introduce us to color. I missed using color!!! Here is the still life....
 and this is my drawing...

 and this is my drawing...
Wednesday, December 1, 2010
I am Obsessed!
For my final project in Surface Studio, I had to choose an obsession. Something I can be completely obsessed with. Here is an idea of the grading scale and what the teacher expects.
 The back is like a doll house. On each floor there are lego people including: Star Wars characters, cowboys and Indians, aliens, basketball players, soccer ball players, Harry Potter characters, Spiderman characters, pirates, adventurers, policemen, horses, and more!
 After I built it, I went back and numbered each and every block!
A if we feel you might actually loose your mind
B we are mildly concerned for your health and well-being
C you did the project and it was ok
D we don’t even think you care about the subject
F did you just look it up in Wikipedia
I chose to be obsessed with Legos! As i child I was obsessed with them, so why not bring them back into my life! I missed them so much. I realized there are always so many possibilities of what someone can build with legos. My little brother and I used to build towns, basketball courts, spaceships, and massive race cars. However, this is by far the biggest thing I have ever built...
Here is the front..
 The back is like a doll house. On each floor there are lego people including: Star Wars characters, cowboys and Indians, aliens, basketball players, soccer ball players, Harry Potter characters, Spiderman characters, pirates, adventurers, policemen, horses, and more!
 After I built it, I went back and numbered each and every block!
Blocks used: 1227
People and Animals: 104
Others: 50
Total: 1381
People and Animals: 104
Others: 50
Total: 1381
I AM OBSESSED WITH LEGOS!
Tuesday, November 30, 2010
Story Still Life!
 The Final project for this quarter was to tell a story through your still life using any medium. Can you guess what my story is? Look at the objects very carefully! I used vine charcoal once again because I have grown to love working with it. Drawing studio 1 is over. Drawing Studio 2 will begin after Christmas break! Can't wait!
Thursday, November 18, 2010


Wednesday, November 17, 2010
Is the Paper White or Black?
Today we had to bring in black paper and white conte crayon/charcoal. I helped the professor set up a lovely still life at the beginning of class but once everyone put their benches around it, there was no room for me to sit. :( I really would have liked to draw a still life because drawing fabric has always been a challenge for me. In the end I was stuck having to draw the fabric. Turns out, drawing fabric isn't that hard. If anything, I think it helped me work with value more. Since we started on black paper, we had to apply the whitest whites then work dark. I really enjoyed working with the black paper. It doesn't waste charcoal. If I did this on white paper and had to fill in the black space with vine charcoal, I would have run out of it fast. Here is the fabric I drew from. Note: I did not draw from this photograph. I drew from life.
 Here is the drawing!
 More black paper drawings to come!
 Here is the drawing!
 More black paper drawings to come!
Monday, November 15, 2010
Not Everyday is a Good Day

I realized I have to be feeling well to concentrate on my art work. Today my Professor asked us to draw whatever we wanted. She said we could go outside, around campus, somewhere in DAAP, or set up a still life in the room. Well its way to cold to go outside so I thought I would attempt to draw my friend. After numerous tries I gave up. I guess that is why they wait another year to teach us figure drawing. So I decided to make my own still life. Its not the best one I have ever done but I have learned a lot from this experience. I should be healthy when I am doing art or I won't make good art. I just wasn't focused at all. But let's put it in the past and move to the future!
Wednesday, November 10, 2010
Digital Collages!
I'm Finished!!! After scanning in the 40 collages onto the computer, I worked with them in photoshop. While working with many layers I did the following:
http://www.youtube.com/watch?v=pA7l5dkrNbo
Enjoy!!!
- Copied and pasted pieces from other collages
- Painted with the brush tool.
- Used the burn tool
- Put filters on
- Added text
- Used the Blur tool
- Scaled, rotated and distorted images
http://www.youtube.com/watch?v=pA7l5dkrNbo
Enjoy!!!
Tuesday, November 9, 2010
Drawing books!

In Drawing studio, we were sent to the library to pick a book out that has everything we have learned this year in it. Contour line. Gesture Drawing. Organizational line. Value. and Perspective. It was my first time going into the DAAP library. The second floor is the best. The book shelves can move to a touch of a button!
Anyways we brought the books back to the classroom to draw. We had to prove that we could draw the correct angles of the books without a horizon line.

Subscribe to:
Posts (Atom)